Contact Wolf  Help
 
×
Menu
Index

User Interface

User Interface
1

RECORD LIST - Names List Control

 
1. RECORD LIST - Names List Control
 
Displays Names of records for Group and Letter (A-Z) currently selected.
 
Also displays search results.
 
Right Click in list for more options.
 
2

Name/Address VCard Viewer Control

2. Name/Address VCard Viewer Control
 
Displays VCard of basic data for selected record.
Right Click in Viewer control for more options.
 
3

Personal Directory tab

3. Personal Directory tab
 
Click to load and access records in the Personal Directory.
 
The records in each directory are separate from the other directories.
 
The Personal Directory requires a LAST NAME for each record in the database.


4

Business Directory tab

4. Business Directory tab
 
Click to load and access records in the Business Directory.
 
The records in each directory are separate from the other directories.
 
The Business Directory requires a COMPANY NAME for each record in the database.
 
 
5

Custom Directory tab

5. Custom Directory tab
 
Click to load and access records in the Custom Directory.
 
The records in each directory are separate from the other directories.
 
The Custom Directory requires a LAST NAME for each record in the database.
 
 
6

Search Data Field Button

6. Search Data Field Button
 
Click to control which data fields are searched when the search button is selected.
 
Hovering the curser over each checkbox option will display a list of the data fields being searched if the option is enabled.
 
Enabling more data fields in searches will result in longer search times.


7

Application menu bar

7. Application menu bar
Contains commands to manipulate the current view or document
 
Click on each menu item to open popup window of options.
 
8

C tab

8. C tab
 
Click on C Tab to load all records for the currently selected Group that are filed under C. If Personal Directory is selected it will load all records in the PERSONAL Directory for the Group currently selected in which the LAST NAME starts with "C".
 
Click on Letter Tabs (A-Z) to load records currently filed under the Letter Tab selected for the Current Group selected and currently selected Directory (Personal, Business, Custom);
 
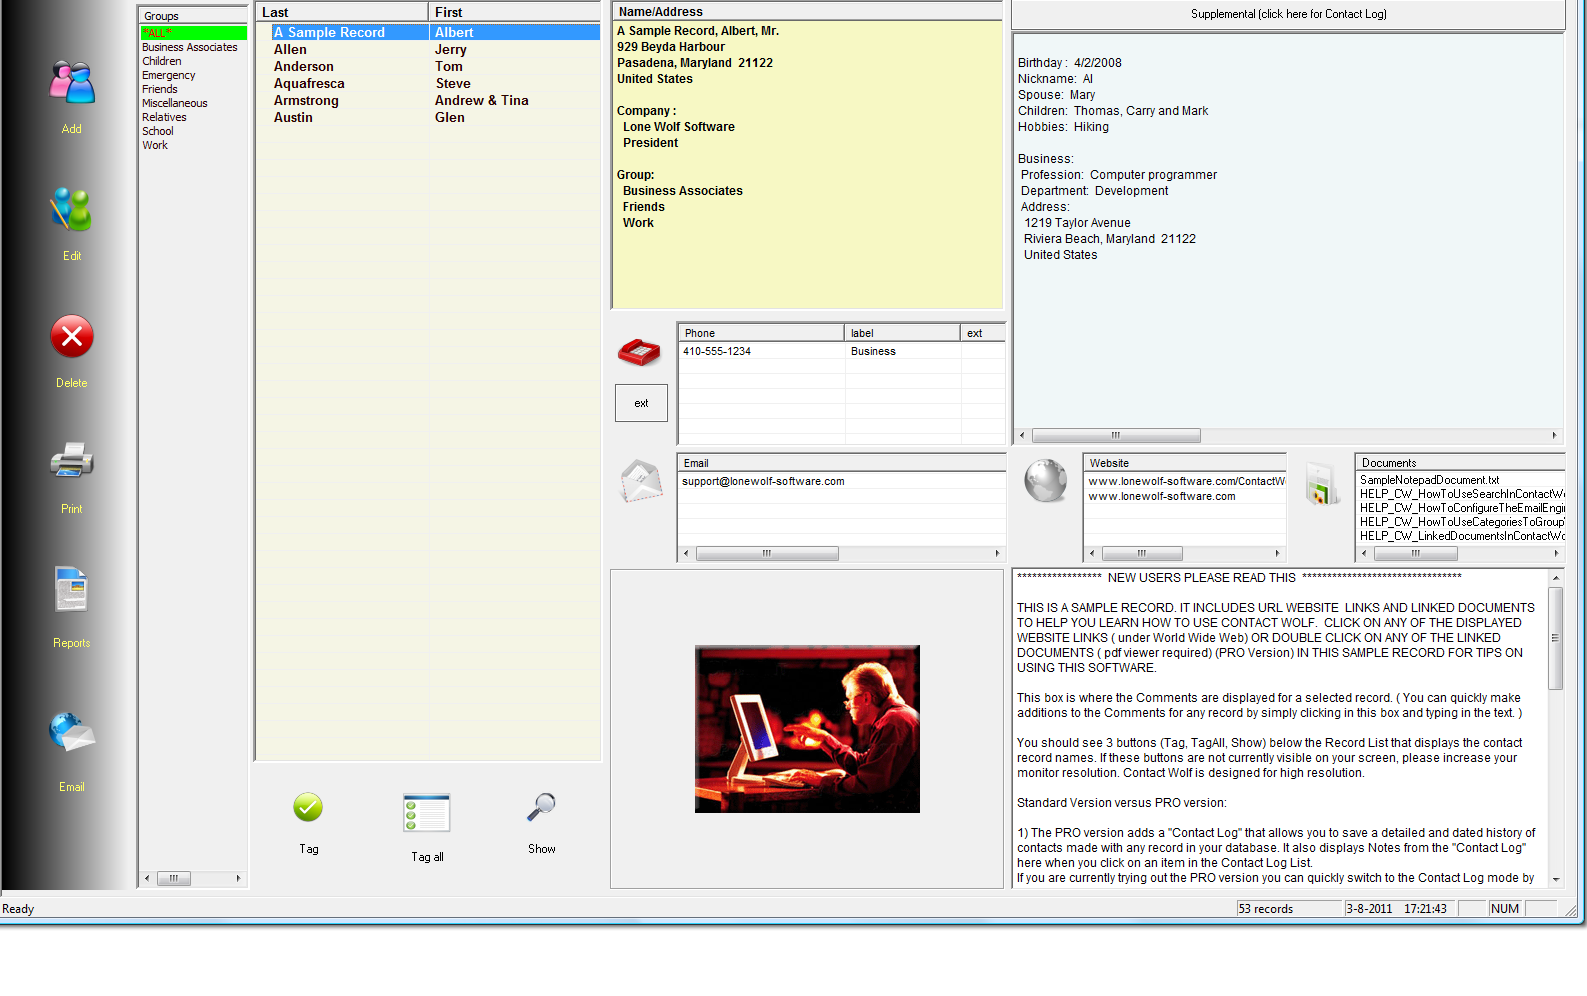
When you click on a Group in the Group List all records will be loaded for the Group just selected and the Directory selected.. To further breakdown the records displayed click on the Letter Tab (A-Z) to display only records for that Group filed under the selected Letter tab.
 
 
9

Keyword Phrase Search Box

9. Keyword Phrase Search Box
 
Enter the Keyword phrase to be searched for in the database. Clicking on the Down arrow will display a list of the last 20 keyword phrases searched for. The Search results will be based on the data fields currently enabled in searches.
 
 
10

toolbar

10.  toolbar
 
Click on each toolbar button to quickly select the function. Hovering mouse over each toolbar button will display function.
 
 
11

Search button

11. Search button
 
Click to search for the keyword phrase currently entered.
 
 
12

Client area

12. Client area
 
Contains toolbar buttons, Directory tabs, Data Field Search options, keyword phrase box, Search button and Group/Category control.
 
13

Groups/Category Button

13. Groups/Category Button
 
Click to display a window to create/modify Groups (categories)
 
 
14

A tab

14. A tab
 
15

Pagetab list control

15. Pagetab list control
 
Click on Letter Tabs (A-Z) to load records currently filed under the Letter Tab selected for the Current Group selected.
 
When you click on a Group in the Group List all records will be loaded for the Group just selected. To further breakdown the records displayed click on the Letter Tab (A-Z) to display only records for that Group filed under the selected Letter tab.
 
 
16

Supplemental/Contact Log Toggle button

16. Supplemental/Contact Log Toggle button
 
Click to Toggle between the Supplemental Information Window and the Contact Log Window.
 
NOTE: Only the PRO version includes access to the Contact Log that allows you to maintain a dated detailed contact history for each record.
 
 
17

Group List

17. Group List
 
Click on a Group Name in the Groups List to load all records that have been assigned to the selected Group.
 
 
18

Add record button

Click on the ADD button to add a record to your database.
 
 
18. Add record button
 
19

Supplemental/Contact Log Display

Displays both Supplemental Data and Contact Log data for each record. Click on the Header to toggle between Supplemental and Contact Log.  More Information


19. Supplemental/Contact Log Display
 
20

Edit record button

Click the EDIT button after selecting a record in the Records List Window to Edit the records information.
 
          TIP: You can also RIGHT CLICK in the Records List to display a popup menu of options.
 
          More Information
 
20. Edit record button
 
21

Dial button

Click the Dial button after selecting a Phone number in the Phone List Window to automatically Dial the phone number.
 
          More Information
 
21. Dial button
 
22

Delete record button

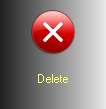
Click the Delete button after selecting a record in the Records List Window to delete it from the database.
 
         TIP: You can select multiple records by holding down the Ctrl Key and clicking on records in the Records List Window. Clicking on the Delete button will then delete ALL selected records.
 
          More Information
 
22. Delete record button
 
23

Print record button

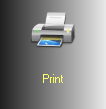
Click on the PRINT button to print a standard printout of a records data. Standard prints are deigned to quickly print out the data in simple format. To print records with formatting click on the Reports button.


23. Print record button
 
24

Add/Edit/View Linked Documents button

Click on the Linked Documents button (PRO version only) to manage documents linked to a contact record.
 
          More Information
 
24. Add/Edit/View Linked Documents button
 
25

Linked Documents List

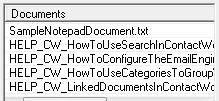
Displays all linked documents currently linked to a contact record. Double click on an item in the list to automatically EDIT the document. RIGHT CLICK in the List to display a popup menu of options for the Item clicked on.
 
         More Information
 
25. Linked Documents List
 
26

Website address list

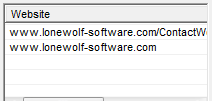
Displays all Website URL address for a contact record. Double click on an item in the list to automatically load the website address and display it in a web browser . RIGHT CLICK in the List to display a popup menu of options for the Item clicked on.
 
         More Information
 
26. Website address list
 
27

View/Print Reports button

Click the Reports button to View or Print formatted Reports of the Contact Wolf database.
 
         Note: To print a report for only specific records the user should TAG the records to be printed and then Select one of the Tagged Only Reports in the Report Viewer.
 
         More Information
 
27. View/Print Reports button
 
28

Send Email button

Click the Email button to send email to multiple recipients. The user should TAG the records that email is to be sent too.
 
         More Information
 
28. Send Email button
 
29

Tag record button

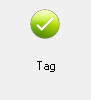
Click the TAG button to TAG a specific record that is currently selected (highlighted) in the Records List Window. Tagging a record adds it to the current list of selected records.
 
          TIP: You can select multiple records by holding down the Ctrl Key and clicking on records in the Records List Window.
 
           More Information
 
29. Tag record button
 
30

Tag all records button

Click the TAG ALL Button to TAG ALL records currently displayed in the Records List Window.
 
          More Information
 
30. Tag all records button
 
31

Show Tagged records button

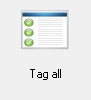
Click the Show Tagged Records button to display a List of all the currently tagged records in the database. The user may also Untag and re-Tag records while the Tagged records Window is open.
 
         More Information
 
 
31. Show Tagged records button
 
32

Send Email button

Click the Send Email button to send email to the selected email address in the Email Address List Window for the contact record currently selected.
 
         More Information
 
32. Send Email button
 
33

Image Control

The Image Window in Contact Wolf's main window (Pro version only) allows you to display an image for the contact record.
 
          More Information
 
33. Image Control
 
34

Email Address List

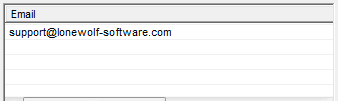
Displays email addresses for a selected record. Click on a record in the Records List Window to load the records data and email addresses in the Email Address List.
 
         Right Click in this window to display a popup menu of options.
 
         More Information
 
34. Email Address List
 
35

Phone number list

Displays all phone numbers for a selected Record. Click on a record in the Records List Window to load the records data and phone numbers in the Phone number List.
 
         Right Click in this window to display a popup menu of options.
 
         More Information
 
35. Phone number list
 
36

Go to website button

Click to automatically load the selected website URL address in the Website List window into the computers default browser and load the web page.
 
          More Information
 
36. Go to website button
 
37

Client area

The Standard Interface (main window) for Contact Wolf.
 
          More Information
 
 
37. Client area
 
38

Comments Data Field

The Comments Window. Click in the Comments window to add Text or comments for a record. The text capacity is unlimited.
 
38. Comments Data Field
 
39

Status bar

The Status bar displays various information for the Directory that's open.
 
39. Status bar
 
Made with help of Dr.Explain